This website has been archived and is no longer being updated. Mostly because my life took a different turn at some point, with less making/manufacturing stuff to write about.

Check out hannobraun.com, to see what I'm up to these days.

Contact me: hello@hannobraun.com

Hanno Braun

making and small-scale manufacturing

Updates

I have a daily habit of working on side projects, and I've come to appreciate the benefits of tracking that habit out in the open. If I'm doing work on a software project, I track that on GitHub. If it's more hands-on, I like to post an update here.

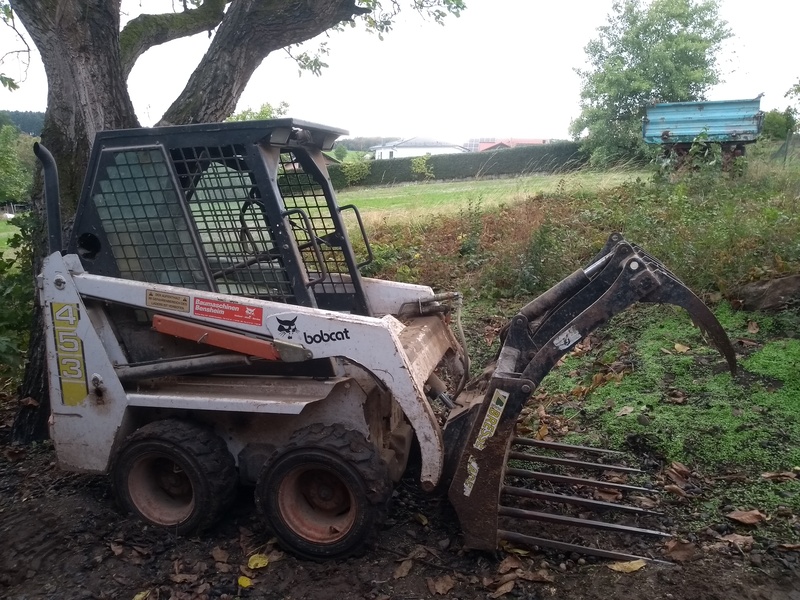
  1. A skid-steer loader standing outside.

    I had a fun Saturday! Worked on ripping out some thorny bushes, including their root systems. A real man (and machine) against nature kind of thing.

    Here's how it looked before:

    A real mess of thorny bushes growing on a small slope.

    And after:

    The same slope, but without any plant cover.

    It will take more Saturdays like this before I've cleared the whole property!
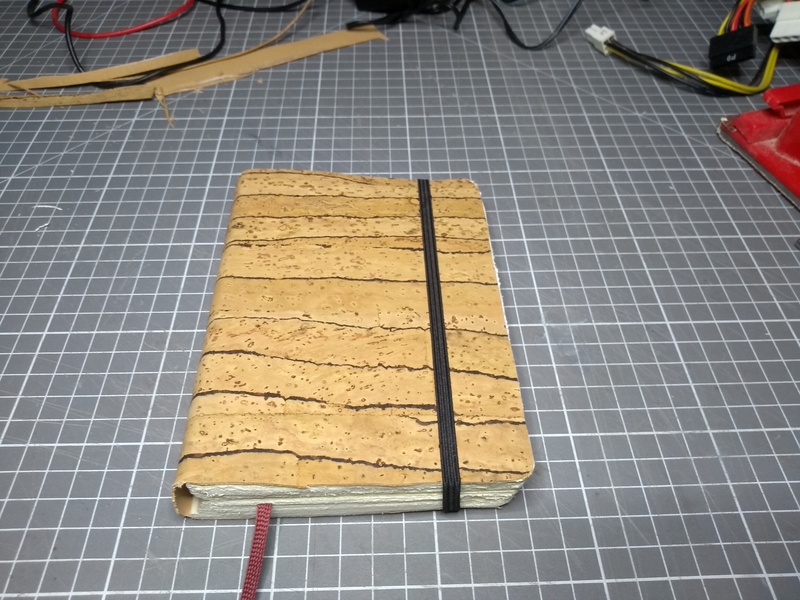
  2. Notebook #6, closed, on a table.

    Notebook #6 is finally done! Came out pretty good, all things considered.

  3. Notebook #6, back side of the cover shown. The rubber strap has been attached.

    Another tiny step of progress on notebook #6: The rubber strap seems to be attached well. The connection will become even stronger, once I've glued on the back side of the cover.

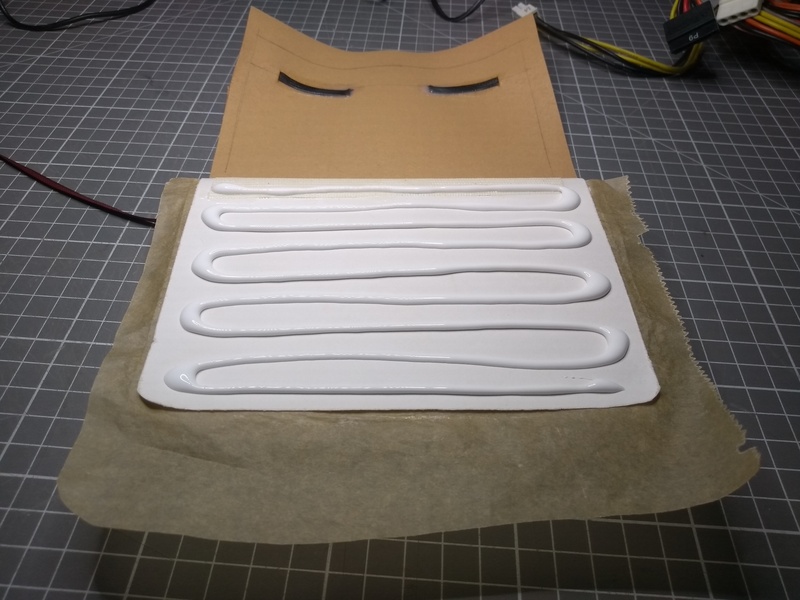
    Notebook #6, glue placed on the last end page, where the back side of the cover will attach.

    And I started doing just that. By next weekend, when I'm back here in the workshop, the glue will have dried, and I can hopefully finish the notebook.

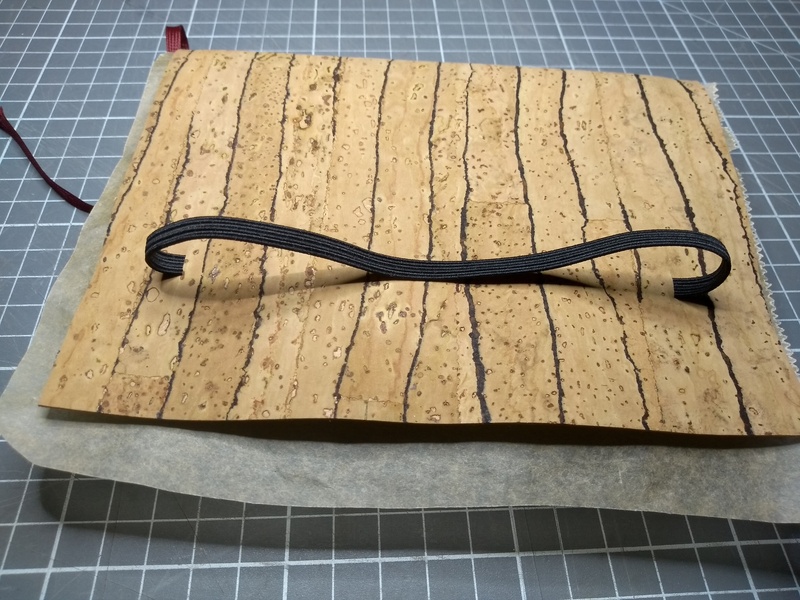
  4. Notebook #6, inside of the back side of the cover. The ends of a rubber band have been pushed through slits in the cover, and have been attached to the inside of the cover with wood glue.

    Another bit of progress on notebook #6: glued the rubber band to the cover. I hope this will hold well enough, so I can finish glueing the cover to the text block next. Almost finished!

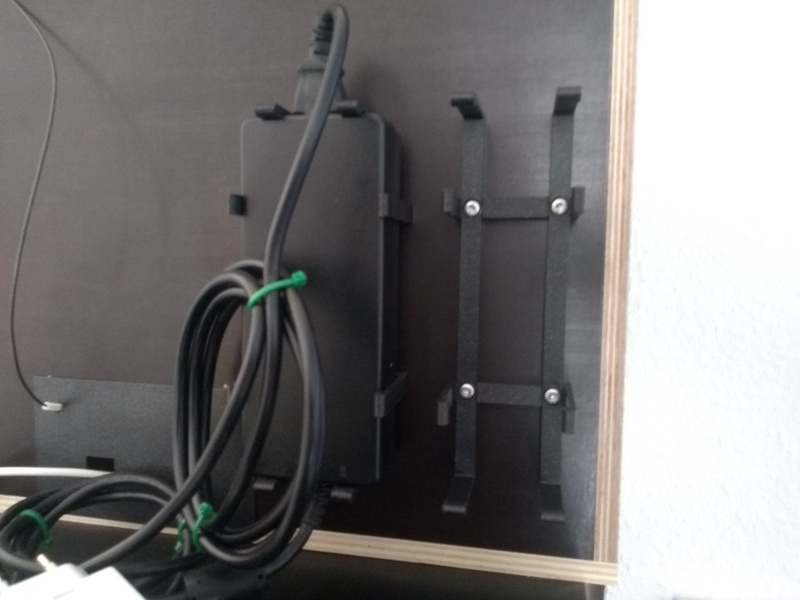
  5. The back of my Prusa Mini enclosure, now with a 3D-printed holder for the power strip screwed on.

    The next chapter of my battle with the Prusa Mini enclosure: after securing the heaviest item (the power supply) with a 3D-printed holder, the power strip turned into the new weak spot. I think I'm slowly learning my lesson about double-sided tape.

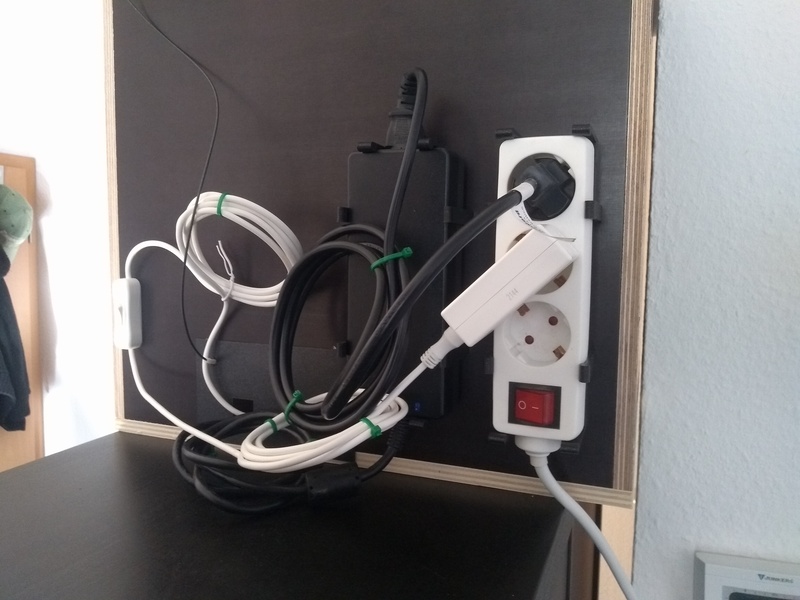
    The back of my Prusa Mini enclosure, the power strip attached into the holder.

    Now everything should hold, hopefully!