First Layer Calibration on the Prusa Mini
Published: 2021-12-14
The Prusa Mini comes with a built-in first layer calibration procedure. I find it lacking, however, and have come with my own technique for calibrating the first layer.
So what are the problems with the build-in calibration procedure? Here's the list of problems, as I see them:
- It assumes that the default 0.4mm nozzle is installed. If you've switched to a nozzle with a different diameter, that's a deal breaker right there.
- Most of the procedure consists of printing a single line. Maybe it's me, but I find it extremely hard to judge anything based on that line.
- It's printing a rectangular patch at the end, but that is too small to allow for much live adjustment. And you have to first wait through the rest of the procedure to get to it.
The alternative approach I've come up with consists of the following steps:
- Create a 1-layer model in PrusaSlicer.
- Print that model. Live-adjust the Z offset during the print, as necessary.
- Check results. Try again with adjusted Z offset, if necessary.
But let's take a look at the details. The following description is based on PrusaSlicer 2.3.3 (please let me know, if any of this has become out of date).
The Procedure
1. Create the calibration model
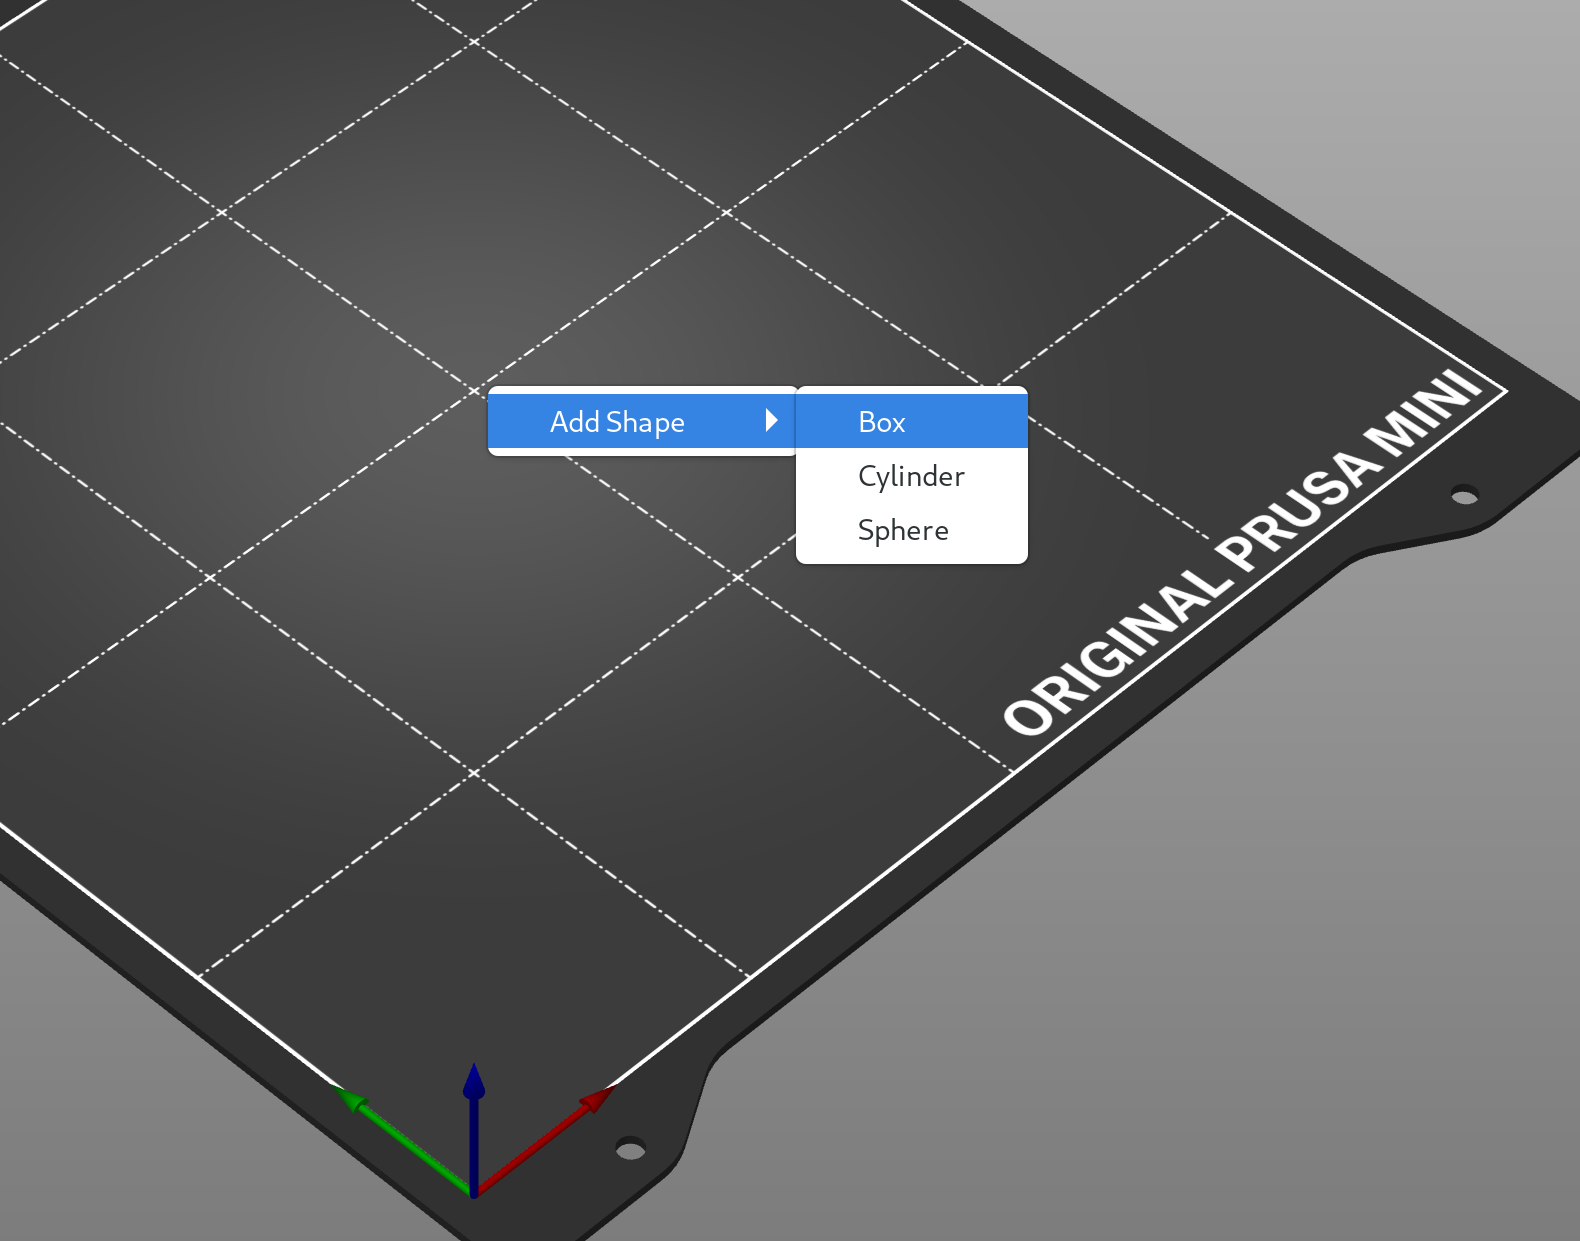
In an empty PrusaSlicer project, create a box. Just right-click on the build plate, Select Add Shape -> Box.
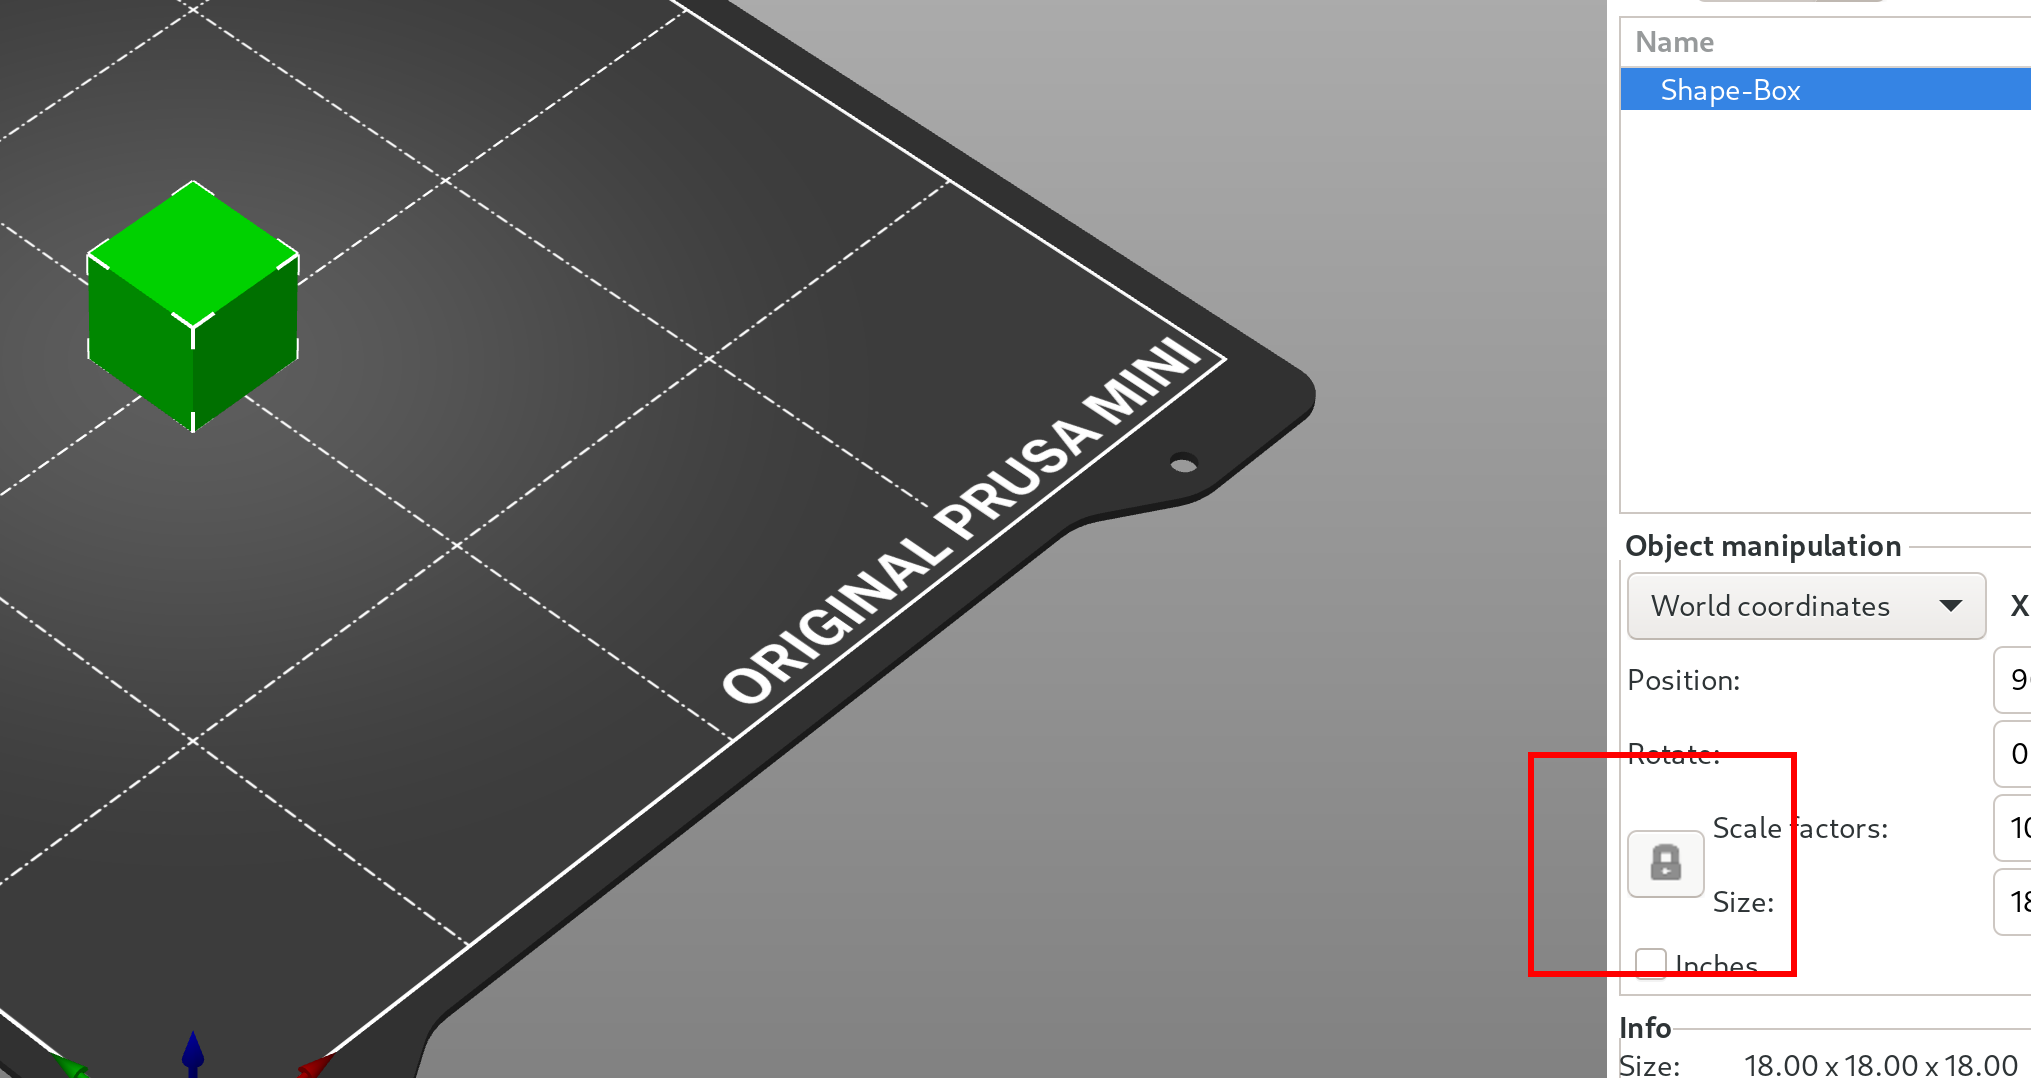
The box doesn't do us a whole lot of good, as it is many layers high. We need to modify at least the height. Currently, the X/Y/Z dimensions of the box are locked together, meaning we can only change them together.
Let's unlock them first by clicking the lock symbol in the Object Manipulation section on the right of the screen.
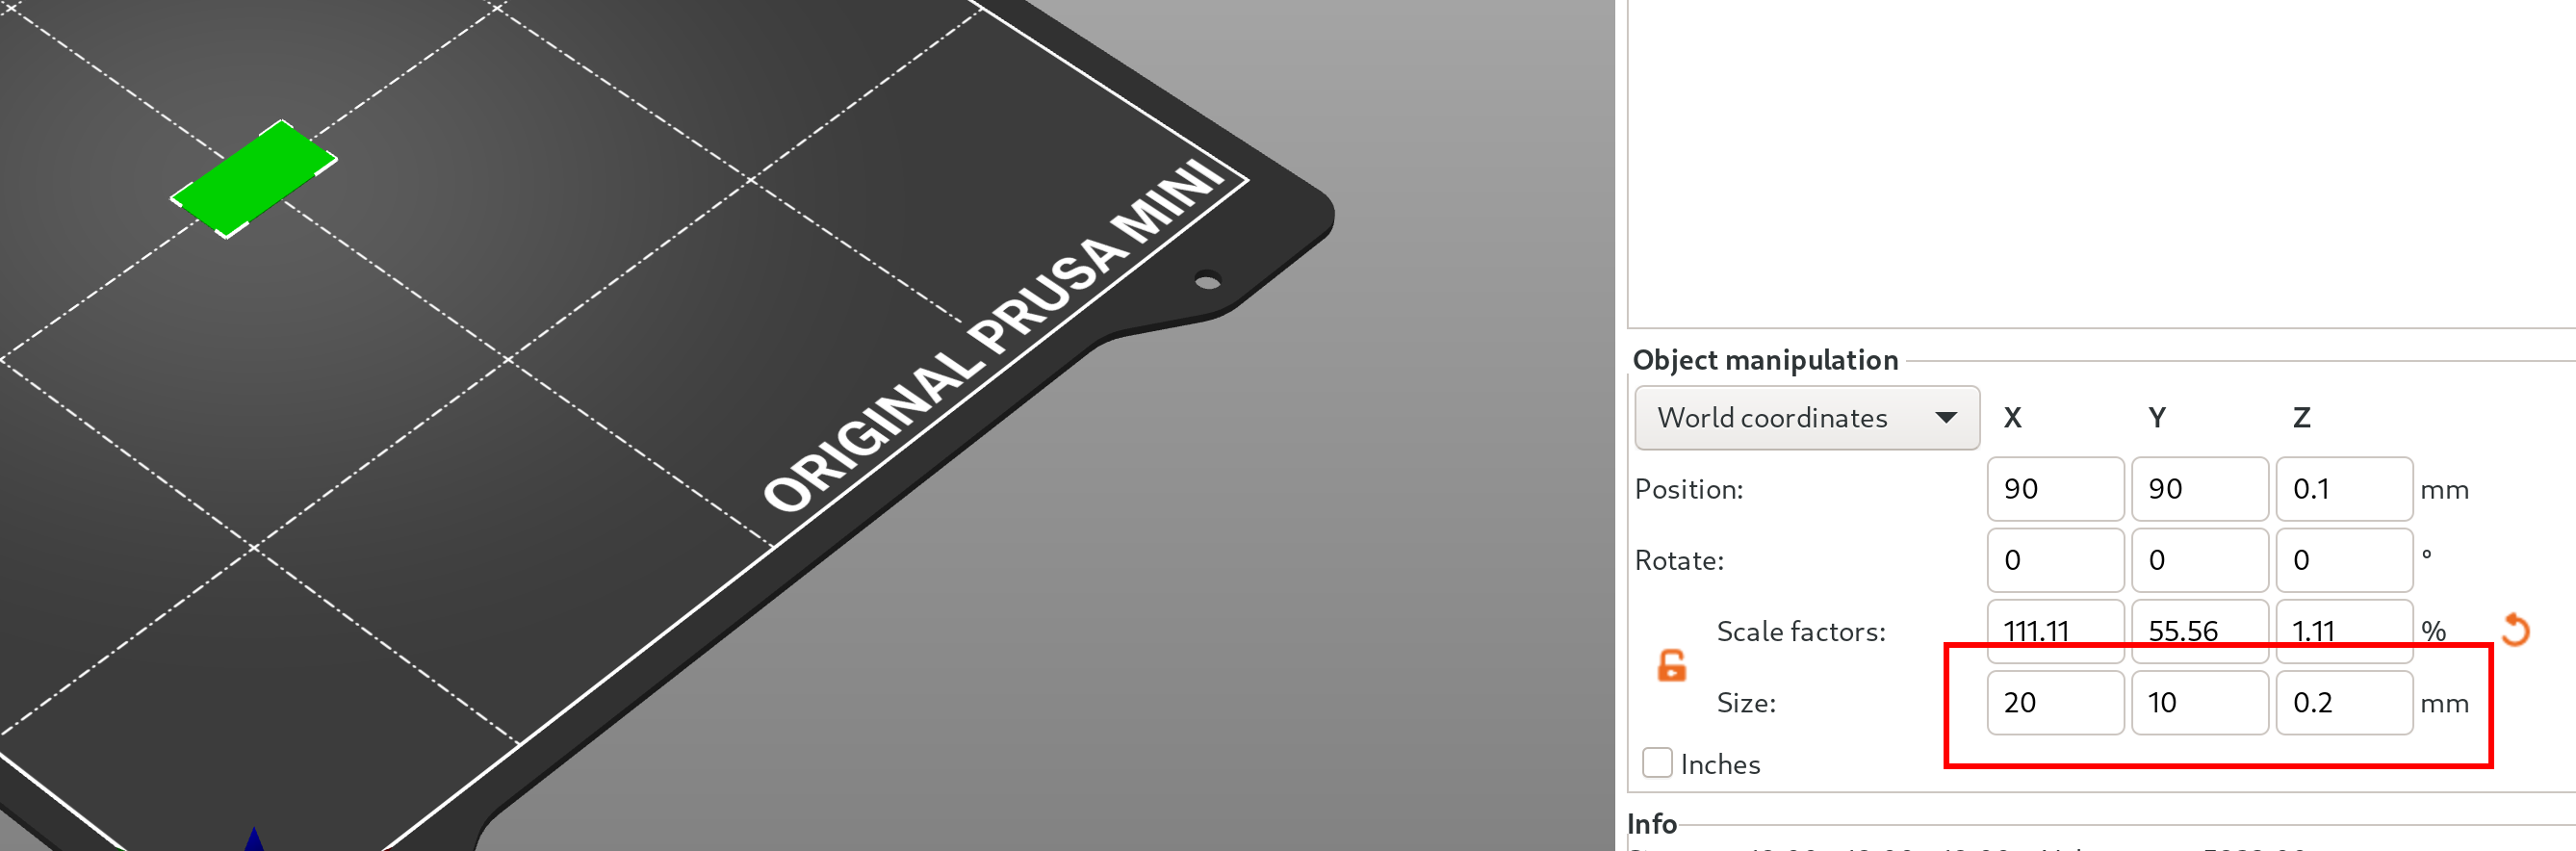
Once unlocked, you can set the size in X, Y, and Z independently. Set the Z size to the height of your first layer. How much that is, depends on your print settings.
I recommend setting Y to 10mm. Your X value depends on whether you want to live-adjust your Z offset during the print, or create different prints at a single setting, to compare with each other.
For creating independent prints to compare with each other, I prefer setting X to 20mm. To allow for live-adjustment, I prefer a larger value, like 90mm.
Now you can slice your calibration model and send it to the printer, like you would do with any other model.
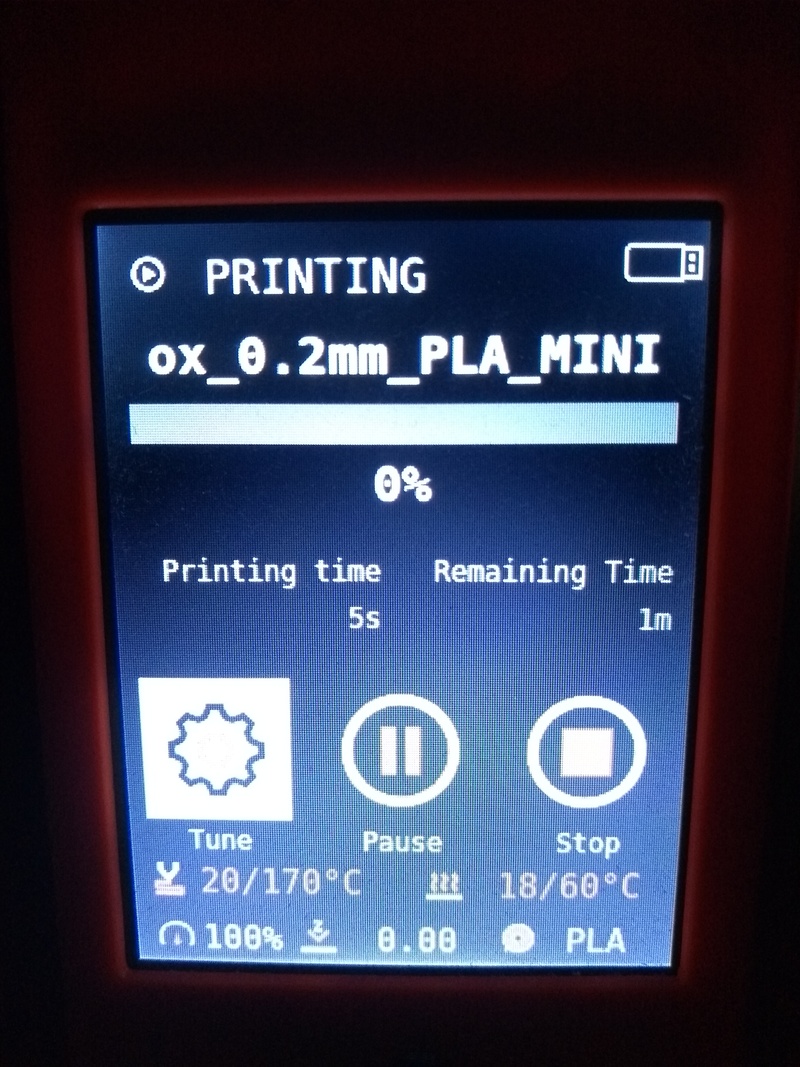
2. Print the calibration model
TASK: Once screenshots are added, adjust as necessary.
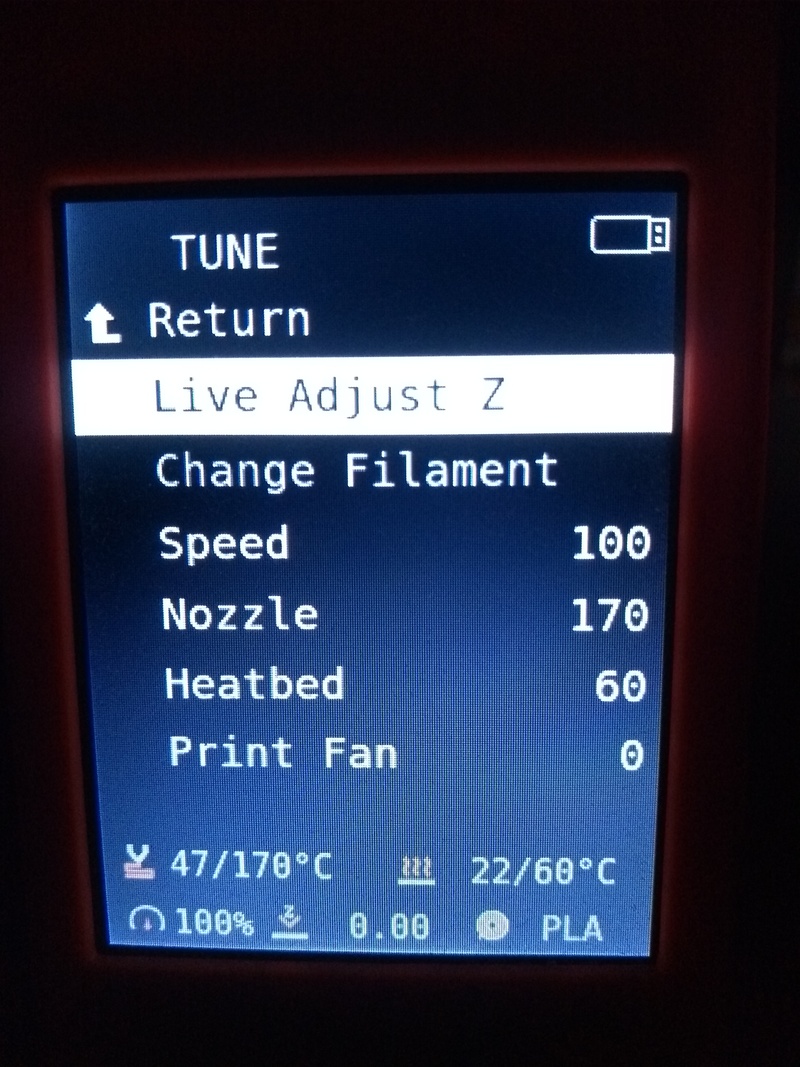
There's not much to this. Just print the calibration model. If you want, you can live-adjust the Z offset while the calibration model is printing. To do so, select Tune while the print is ongoing.
Then select Live Adjust Z.
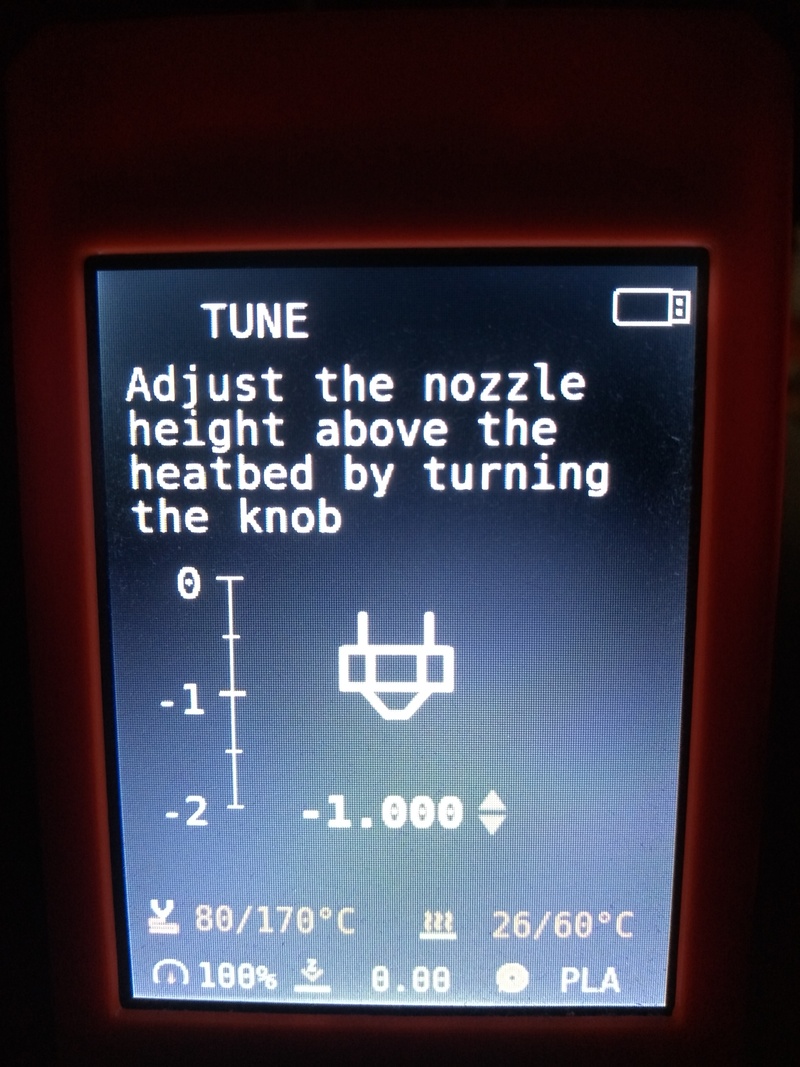
Now you can adjust the Z offset while the printer is printing.
Alternatively, you can just print the calibration model with a single setting, then adjust and print another one.
WARNING: Be careful when lowering the Z offset value. If you lower it too much, you can get it to a point where the nozzle can no longer extrude material, or even crash the nozzle into your bed. Only make small adjustments, then inspect the result before adjusting further. If you make adjustments that are a fraction of your initial layer height, let's say half at most, you should be on the safe side.
WARNING 2: If you're doing this calibration because you switched to another sheet print, make sure that you are not using a setting from the previous sheet that is already too low. Maybe switch to a high Z offset value before the print, then adjust downwards as you go.
3. Inspect the results
It can be hard to know what to look for at first, but once you get the hang of it, inspecting your calibration print and adjusting the Z offset value becomes pretty easy.
First off, if your print doesn't stick at all, you're probably way too high. Adjust the Z offset downwards, until the extruded material starts to stick to the sheet.
Now let's look at a print that sticks without problems, but is still too high.
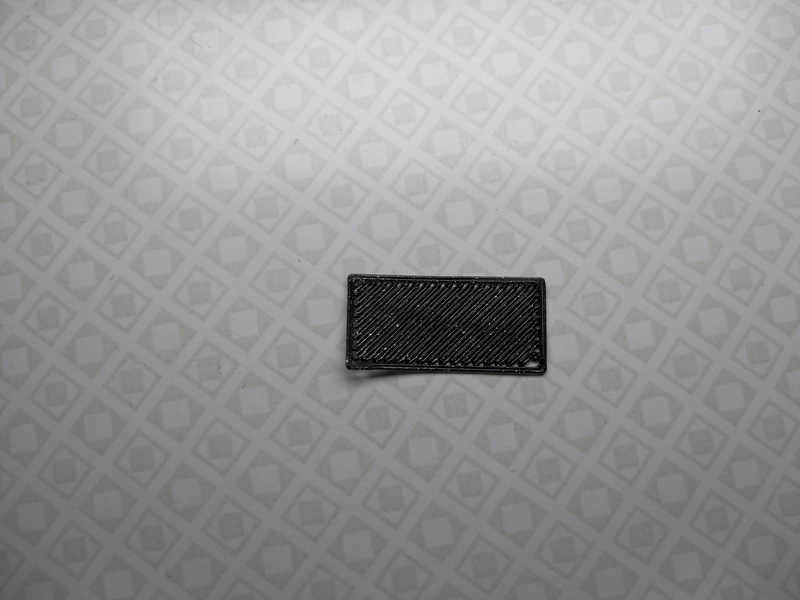
You can see clear gaps between the extruded lines. If your calibration print looks like this, you need to decrease the Z offset value.
Now let's look at a print where the Z offset is too low.
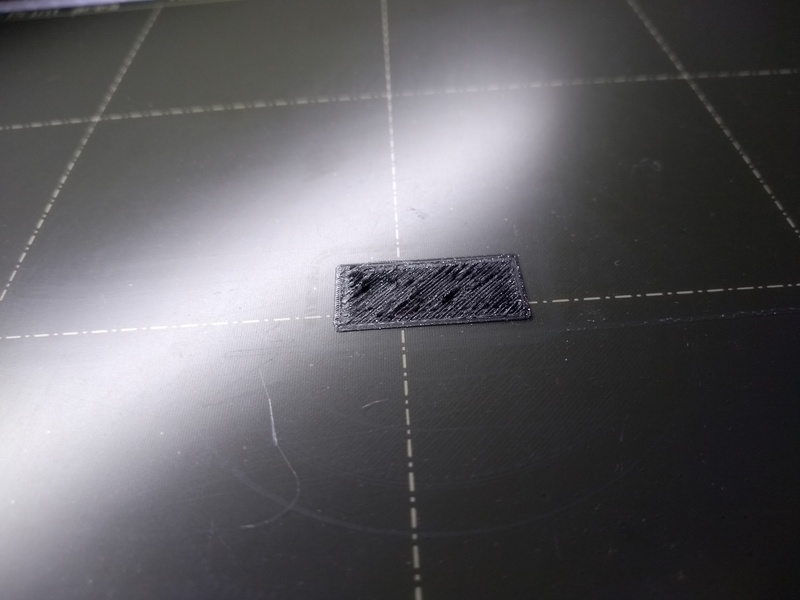
You can clearly see ridges where the nozzle dragged through the material. If your calibration print looks like this, you need to increase the Z offset value.
Finally, here's a calibration print that looks correct.
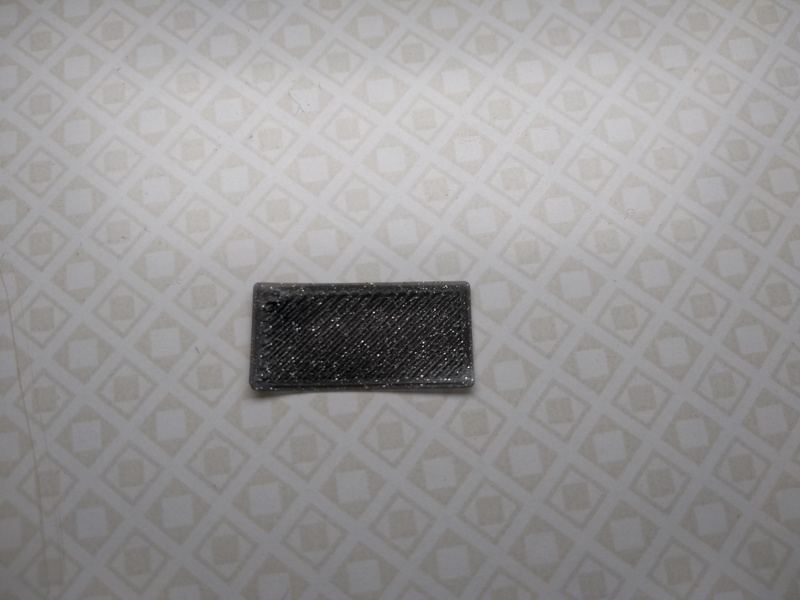
There are neither gaps between the lines, nor ridges dragged up by the nozzle. I've made good experiences with Z offset settings that resulted in prints looking like that.
As you close in on the correct value, both the gaps and the ridges become more subtle. There's a grey area between too high and too low, where it can be hard to tell. If you want to get a good feeling for that, I recommend doing many prints with small adjustments in Z offset, and compare them.
Remember, your setting doesn't need to be perfect. If there are no obvious problems and your first layer sticks to the bed, it's probably good enough.
Personally, I like to err on the lower side, setting the Z offset low enough that the lines look squished, but without any ridges being visible. I don't know if that's optimal, but it has worked well for me.
Conclusion
With this procedure, you should be able to get your first layer calibrated, regardless of what slicer settings and nozzle you're using. I hope this was helpful. If you have any questions or comments, please get in touch.